Creating a Distribution Order Using a Wizard
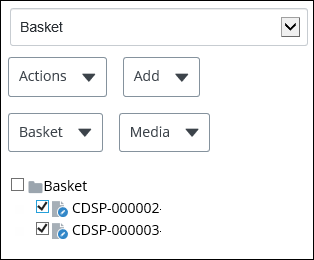
In order to create a distribution order using a wizard, documents must be selected from your Basket. The wizard directs the user through options for creating a distribution order, in AssetWise ALIM Web.
To create a distribution order using the Create new card, see Creating a Distribution Order Using the Create New Card.
Follow these steps to create a distribution order, using a wizard.
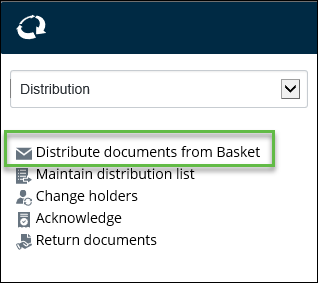
- Select the Home icon, and then from the Navigation pane, do one of the following: The Distribution wizard page appears. For example,
- Select a method for distributing the documents. Your options are:
- Click Next.
-
If you selected
Use related distribution lists in the
Distribution Wizard
Step 1 of 2, then the wizard advances to the
next page, for example,
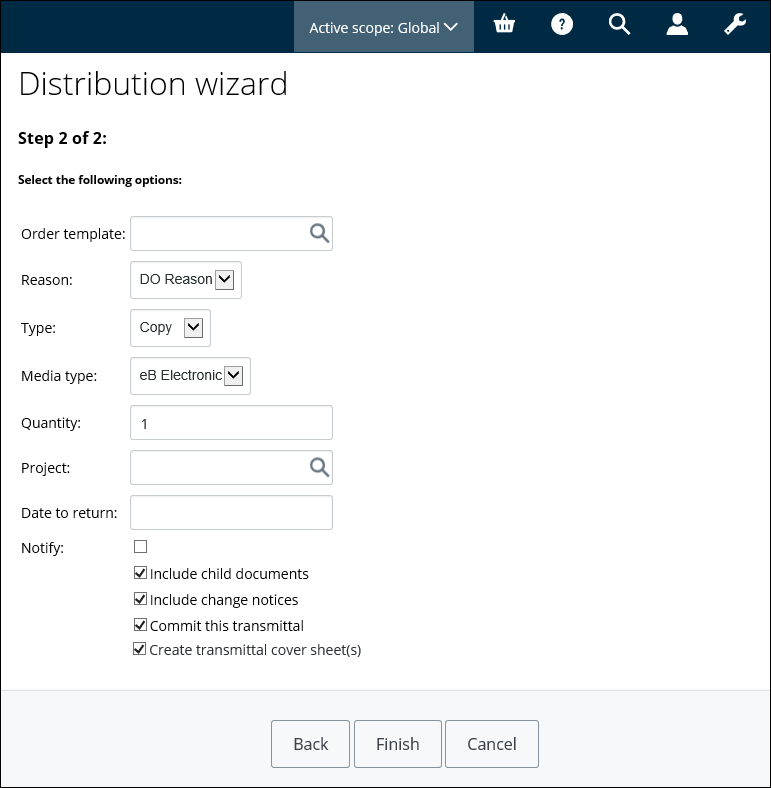
- Select an Order template.
- You can modify Reason, Type, Quantity, and Date to return for example.
- Select the appropriate notifications. Your choices are: Include child documents, Include change notices, Commit this transmittal, and Create transmittal cover sheet(s)
- When you are finished, click Finish
- Go to Step 8.
-
If you selected
People on specified distribution lists in
Step 1 of 2, then the wizard advances to the
next page. For example,
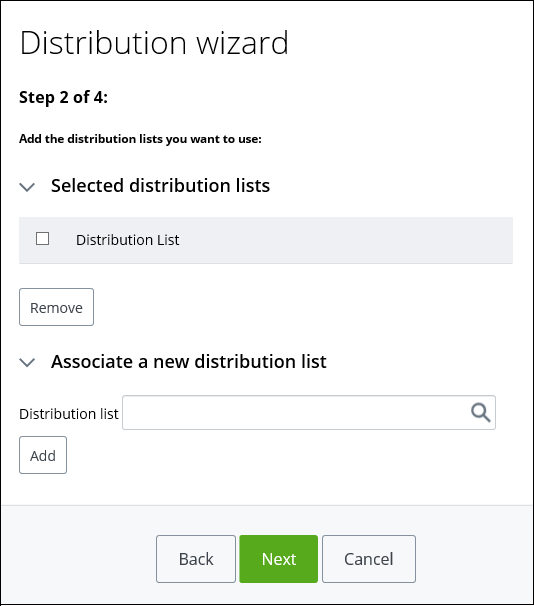
- If there is one or more distribution list in the selected distribution lists, you can select any of them.
- You can search Associate a new distribution list, and then click Add. The distribution list is added to the Selected distribution list list.
- Select each distribution list from the Selected distribution list list, to which you want to distribute.
- When you are finished, click Next. The wizard advances to the next page.
- Select an Order template from which to base this distribution order.
- You can edit the options such as Reason, Type, Quantity, and Date to return, for example.
- When you are finished, click Finish
- Go to Step 8.
-
If you selected
Select people by name in
Step 1 of 2, then the wizard advances to the
next page. For example,
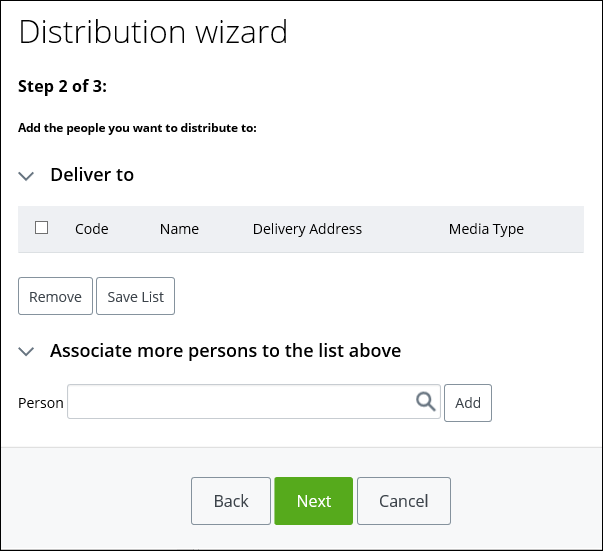
- If there is already one or more person(s) in the Deliver to list, you can select any of them.
- You can remove people to deliver to, by selecting the person(s) in the Deliver to list, and then click Remove.
- You can search Associate more persons to the list above, and then click Add. The person is added to the Deliver to list.
- If you want to save the added person(s) to a list for future use, click Save List.
- Select each person from the Deliver to list, to which you want to distribute.
-
When you are finished, click
Next. The wizard advances to the next
page.
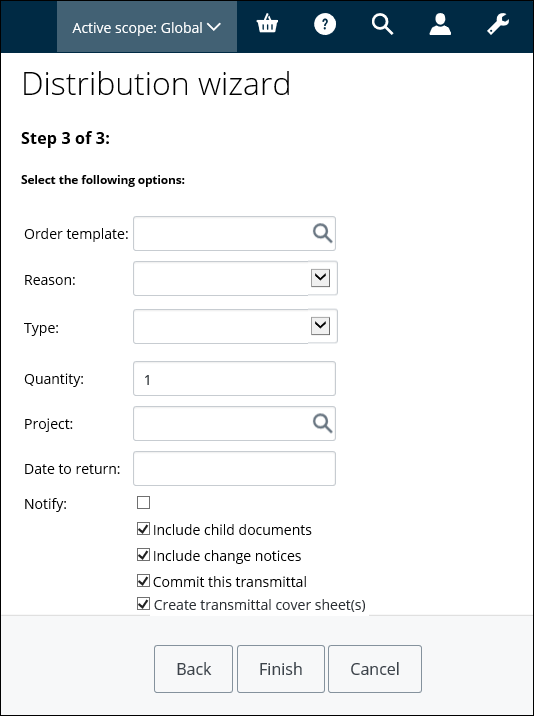
- Select an Order template.
- You can modify Reason, Type, Quantity, and Date to return, for example.
- Select the appropriate notifications. Your choices are: Include child documents, Include change notices, Commit this transmittal, and Create transmittal cover sheet(s).
- When you are finished, click Finish.
- Go to Step 8.
- If you selected All people in the Basket in the Distribution Wizard Step 1 of 2, then the distribution order is sent to each person that appears in your Basket. When you are finished, click Finish.
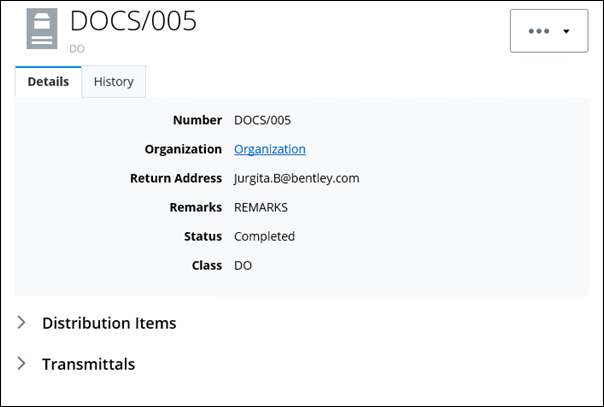
- The Distribution page appears.
- You can select Edit from the Actions menu, if you want to edit properties of the Distribution Order.
-
You can
Add a Distribution Item to the distribution order, providing
the Distribution Order has not yet been approved.
When you are finished, click Relate.
The selection is added to the distribution order.
- When you are finished, click Save.