Creating a Publisher Package
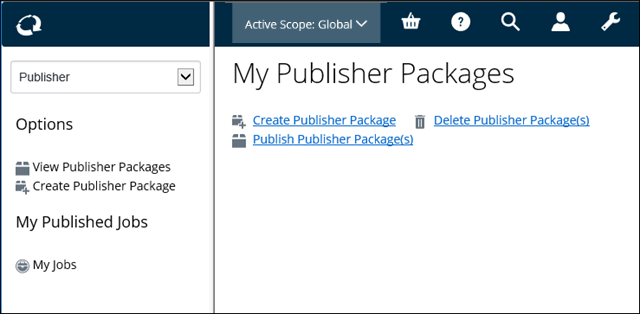
- From the Navigation pane, select Publisher from the list. Publisher options appear. For example,
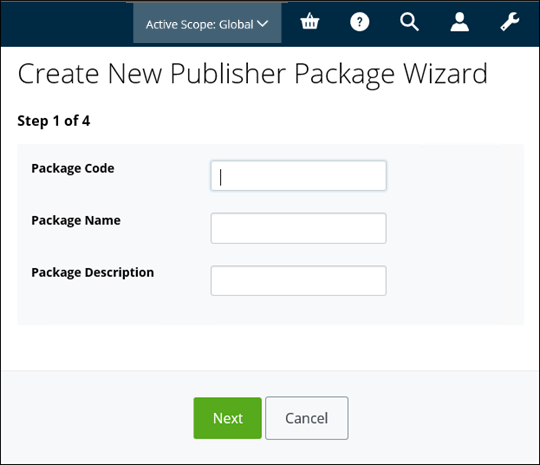
- From either the Navigation pane or the Content pane, click Create Publisher Package. The Create new Publisher Package wizard appears, open to page 1. For example,
- Enter a Package Code, Package Name, and Description (optional).
- Click Next. The wizard advances to Step 2.
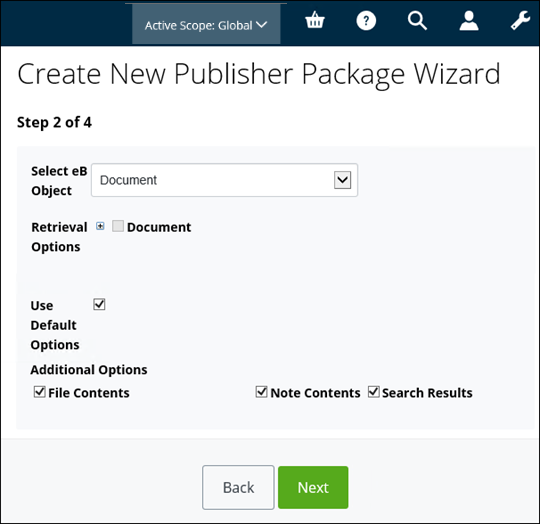
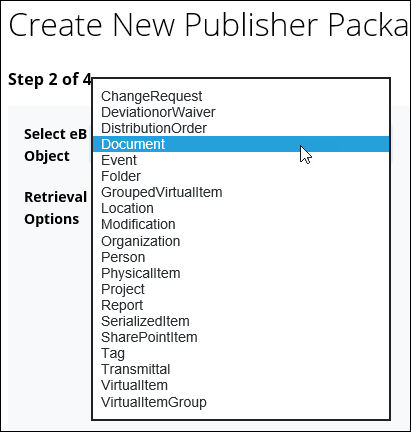
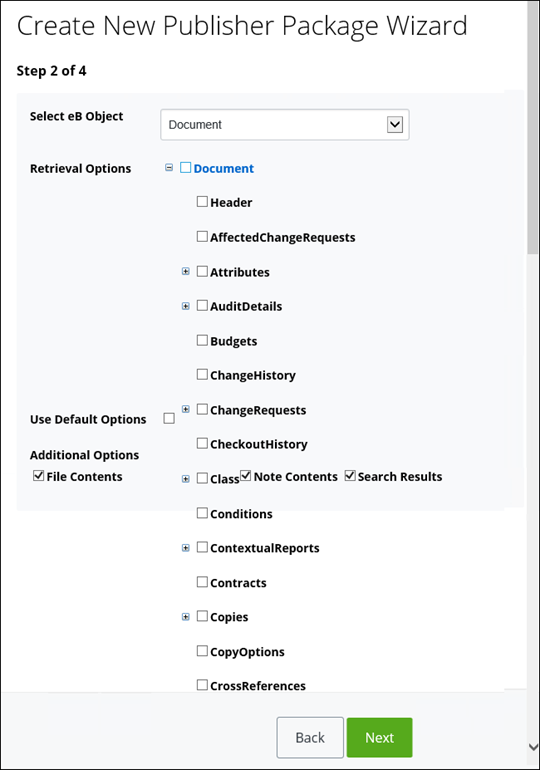
- Select an object from the list.
- By default, Use Default Options is selected. If you want to edit the publisher options, clear Use Default Options. Publisher Package options appear, for example,
- Edit any options, and then click Next. The Create New Publisher Package wizard advances to Step 3.
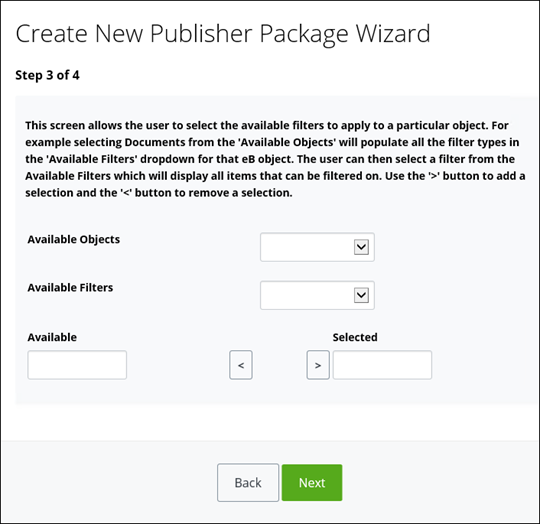
-
Select
Available Objects from the list, and then
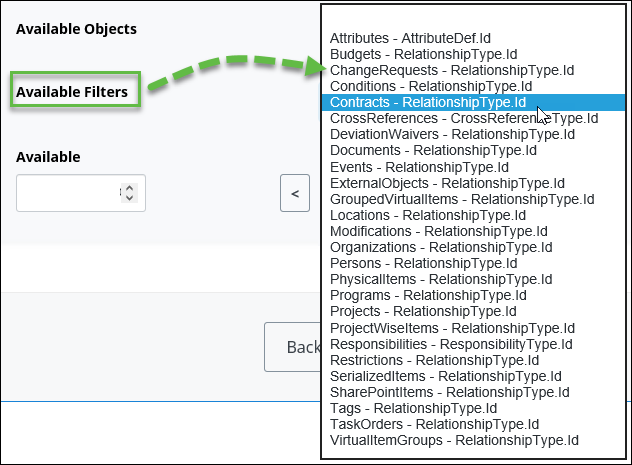
select
Available Filters from the list.
For example,
The Available list is populated with all possible filter options.
-
Select a relationship from the
Available list, and then click
 .
The relationship appears in the
Selected list.
.
The relationship appears in the
Selected list.
- Repeat Steps 8 to 9 for each filter that you want to add to the package.
- When you are finished, click Next. The Create New Publisher Package wizard advances to Step 4.
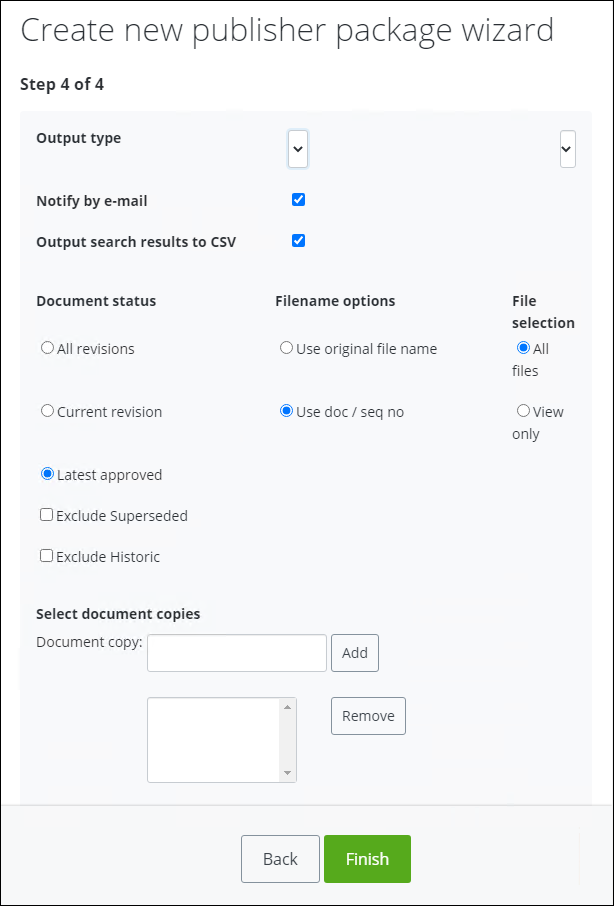
- Enter the Output Type.
- Select or clear the Notify By Email and Output Search Results to CSV options.
- Select one of the following Document Status options: All Revisions (default), Current Revision, or Latest Approved.
- Select Exclude Superseded.
- Select Exclude Historic.
- Select one of the following FileName Options options: Use Original FileName or Use Doc/Seq No.
- Select one of the following File Selection options: All Files or View Only
- You can select a Document Copy and then click Add, to add it to the Publisher Package.
- Repeat Step 17 for each document copy that you want to add to the Publisher package.
- When you are finished, click Finish.